Your Cart is Empty

Quick Guide:Wall preparation is the first step for a quality paint job, requiring thorough cleaning, damage repair, and primer where needed. These steps create a smooth surface that allows paint to adhere properly and look its best.
Getting ready to paint your interior walls? The prep work you do before opening that first can of fresh paint determines the quality of your final result. While it might be tempting to skip straight to painting, proper wall preparation prevents common issues like peeling paint, uneven coverage, and visible wall damage that can ruin the look of your new paint job. Good preparation techniques are important whether you're dealing with drywall, plaster, concrete, or previously painted surfaces - creating the perfect foundation for a beautiful, lasting smooth finish that would make any professional painter proud.
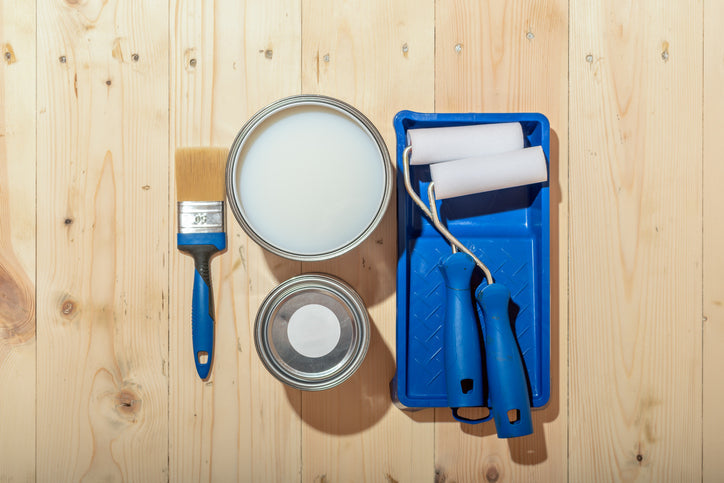
Before starting your paint job, having the right tools and materials ready will make the preparation process much smoother. Here's a complete breakdown of everything you'll need to properly prep your interior walls.
First you’ll need cleaning materials to remove dirt and dust. It can be helpful to use a vacuum cleaner with a brush attachment to remove loose debris and cobwebs. A TSP (trisodium phosphate) or sugar soap cleaner works well for removing grease and stubborn stains - mix it with warm water according to package directions. Then, have clean sponges and a damp cloth ready for washing and drying the walls–you want to make sure not to leave any soapy residue!
For fixing wall imperfections and small holes, gather spackling compound for nail holes and pops, plus joint compound for larger repairs and seams. Use sandpaper ranging in grit from coarse to fine: 80-grit for smoothing drywall and wall texture, 120-grit for general sanding, and 220-grit for final finishing. This range allows you to tackle uneven surfaces effectively.
Protect yourself with a properly-fitted dust mask when sanding, safety glasses toguard against debris, and drop cloths to cover floors and furniture. Plastic sheeting works well for larger areas but can become slippery, so use with caution.
Putty knives work great for applying patching compounds and range in sizes from 1” to 6” or even larger. Pick 1-2 sizes that best fit your job. A sanding block helps maintain even pressure when smoothing repairs, while sanding sponges are great for getting into nooks and crannies of cabinetry/doorframes/trim. It also makes sense to keep a utility knife handy for removing peeling paint or wallpaper and for trimming drop cloths or other masking materials to size.

Before applying fresh paint, proper wall preparation makes all the difference in achieving smooth, long-lasting results. Start by clearing the space completely. Remove all pictures, mirrors, and decorative items from interior walls. Take off switch plates, outlet covers, and any removable light fixtures. For items that can't be removed, like mounted light fixtures or thermostats, cover them carefully with painter's tape and plastic sheeting.
Begin the cleaning process at the ceiling and work your way down. Use a microfiber duster or vacuum cleaner to remove cobwebs and dust. Mix warm water and mild dish soap, then clean walls using a cellulose sponge. Work in sections, rinsing with clean water to prevent soap residue. For kitchen walls with grease buildup, use a degreasing cleaner. Let all surfaces dry completely.
Examine your walls in bright lighting to spot imperfections:
Look for hairline cracks, particularly around windows and doors
Note any nail holes or wall anchors that need filling
Check corners and baseboards for gaps
Test for peeling paint by pressing with painter's tape
Inspect for water stains or discoloration, especially on ceilings and near pipes
Pay special attention to high-moisture areas like bathrooms and kitchens. Mark problem spots with tape so you can easily find them during the prep work phase. Once you've completed this assessment, you'll have a clear picture of the next step before painting can begin.

Fixing interior walls properly before a new paint job is a foundational step that directly impacts your final results. Different types of wall damage need specific repair approaches to create a smooth surface.
For nail holes and wall anchor holes up to ¼ inch, use lightweight spackling compound. Apply it with a putty knife held at a 45-degree angle, pressing the compound slightly deeper than the surface. Scrape across the repair in a star pattern to remove excess, leaving it just above the wall surface. Let it dry completely – usually about 2 hours for small repairs.
Wall cracks fall into two categories: hairline cracks and deeper structural cracks. For hairline cracks, apply joint compound with a filling knife, spreading it thin and wide. For deeper cracks, press mesh drywall tape into a bed of joint compound, then apply a second coat over the tape. Feather the edges out 6-8 inches on each side of the crack for a smooth finish.
Match existing wall texture using the right tools and techniques. For orange peel texture, use spray texture in a can and practice on cardboard first. For knockdown texture, spray and then flatten with a knockdown knife after 10-15 minutes. For smooth walls, build up joint compound in thin layers, letting each layer dry completely.
Start with 120-grit fine sandpaper for initial smoothing of spackling and joint compound. Switch to 150-grit for final smoothing, using light pressure in circular motions. For better results, attach sandpaper to a sanding block or pole sander for even pressure. Wipe walls with a damp cloth after sanding to remove all dust before painting.
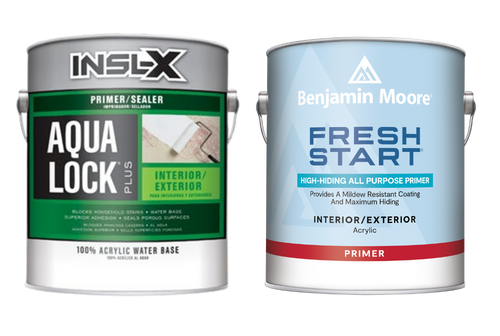
Priming is one of the most overlooked yet essential steps in wall preparation. Aquality primerseals porous surfaces, evens out wall texture, and creates a uniform base that allows your paint color to appear true and vibrant. It also improves adhesion, helping paint grip the wall more effectively and reducing the chance of peeling or uneven coverage over time. For repaired areas, stains, or new drywall, primer is especially important because it prevents blotchiness and ensures a smooth, long-lasting finish. At Clement’s Paint, we recommendBenjamin Moore’s Fresh Start primers for dependable coverage and durability.
Homes built before 1978 require special attention due to potential peeling paint and lead paint hazards.Professional painters have the training and equipment to safely test for and handle paint removal, following EPA guidelines to protect your family's health.
Deep holes, uneven surfaces, or widespread water damage often need specialized repair techniques and joint compound.Professional painters can properly assess the underlying causes, such as moisture problems or structural issues, and implement lasting solutions rather than temporary fixes.
Historical homes demand particular prep work during wall preparation. Their delicate plaster walls, ornate trim work, and period-specific materials require specialized knowledge to preserve architectural details while creating a smooth surface for new paint.Professional painters understand how to maintain historical integrity while updating these spaces.
Professional painters use:
HEPA vacuum sanders
Specialized repair tools and treatments
Professional-grade primers and paints
Proper safety equipment
These tools help complete preparation work faster and with better results than typical DIY efforts. They also carry insurance, provide warranties on their work, and can often purchase materials in bulk at discounted prices.
For complex paint jobs, hiring professionals can lead to long-term savings by:
Identifying and fixing underlying wall issues early
Preventing expensive future repairs
Avoiding common preparation mistakes
Reducing the need for premature repainting
When you need painting services in Austin or Marble Falls, our team atClement's Paint can connect you with trusted professional painters who understand proper wall preparation techniques and use quality Benjamin Moore products.

Properly preparing your walls before painting sets the foundation for beautiful, long-lasting results. The prep work involves cleaning walls thoroughly, repairing any holes, creating a smooth surface, andapplying primer where needed. Taking time with preparation helps new paint adhere better and creates an even, professional-looking finish that will last for years.
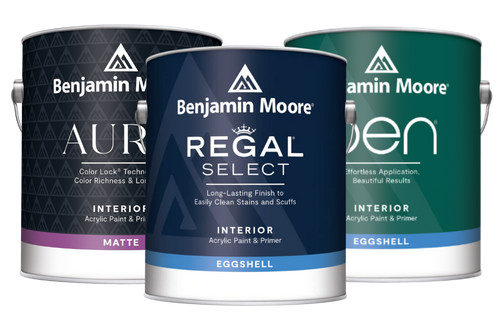
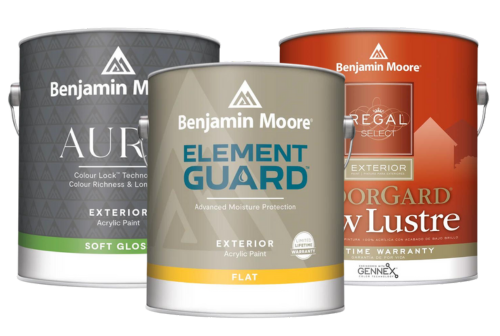
For the best results, only start your paint job after wall preparation is completely finished and surfaces are fully dry. Using quality materials makes a real difference in the final outcome. AtClement's Paint, we recommendBenjamin Moore's Fresh Start primers andinterior paint, which provide excellent coverage and a durable, smooth finish that stands up to daily life.
Visit any of ourAustin locations to get personalized advice on your painting project. Our experienced staff can help you choose the right paint color and provide tips for your specific situation. Stop by today orcontact us to speak with one of our paint specialists about turning your vision into reality.